
Have your 360° photos ready as JPG or PNG files. If they’re still in your camera’s own format, see Image specifications first. Changes in the editor save as you make them.
1. Create the tour
In your dashboard, open Tours and choose Create Tour at the top right. A panel opens on the right:
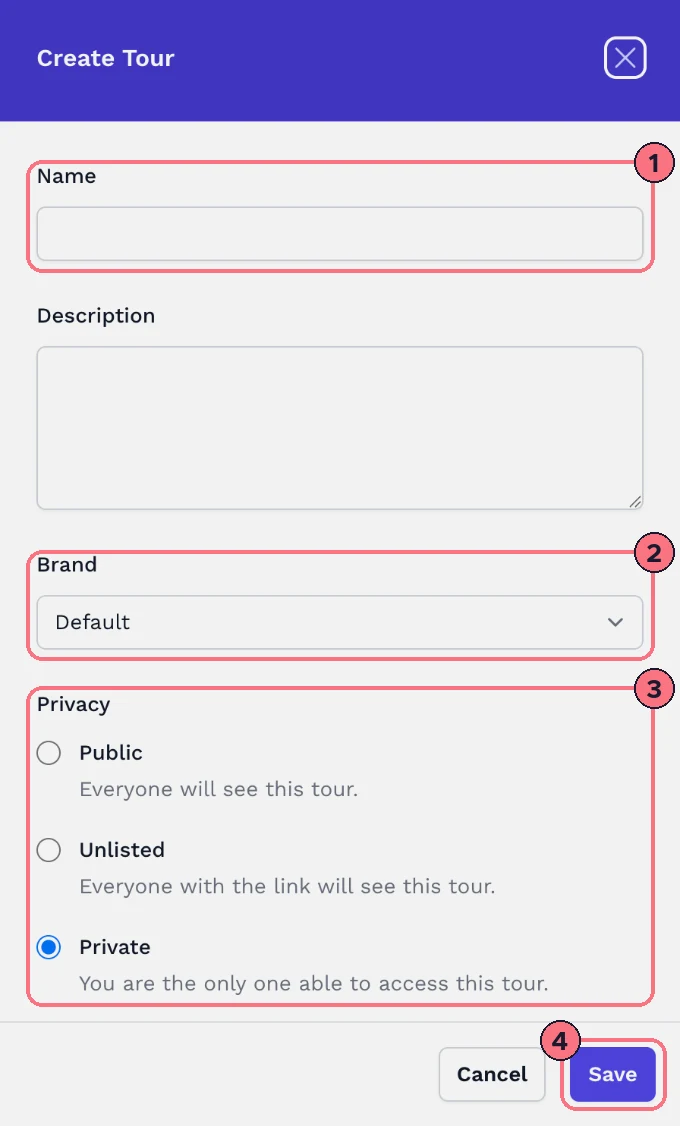
- Type a Name. It’s the only field you must fill in; the Description is optional.
- Leave Brand on Default, or pick one of your brand kits to put your logo and colours on the tour (see How branding works).
- Choose the Privacy. New tours start as Private, so only you can see them while you build. Public and Unlisted need a paid plan; here’s the difference.
- Choose Save. The tour is created and its panorama page opens.
2. Upload your panoramas
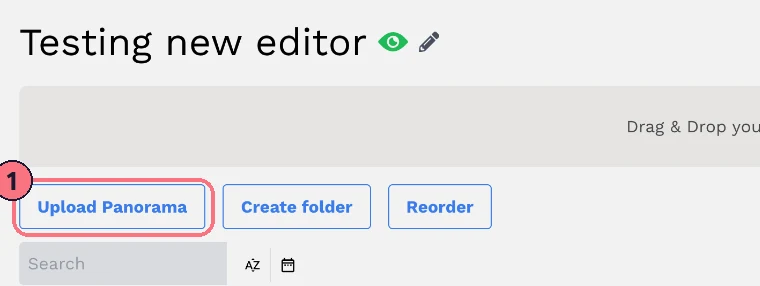
- Drag your photos onto the grey Drag & Drop box, or choose Upload Panorama and pick them. You can send 10 at a time on most plans, and each photo has a size limit that depends on your plan; the uploader tells you if one is too large.
- When they’ve uploaded, choose the green Edit button at the top right to open the tour in the editor.
Building a big tour? Create folder groups panoramas, for example one folder per floor (see How to create new folders), and Reorder changes the order they appear in.
3. Link the rooms with hotspots
Your panoramas appear as thumbnails along the bottom of the editor. Click one to open it.
- Open the panorama where you want visitors to start, and drag the view until the doorway to the next room is in the middle of the screen.
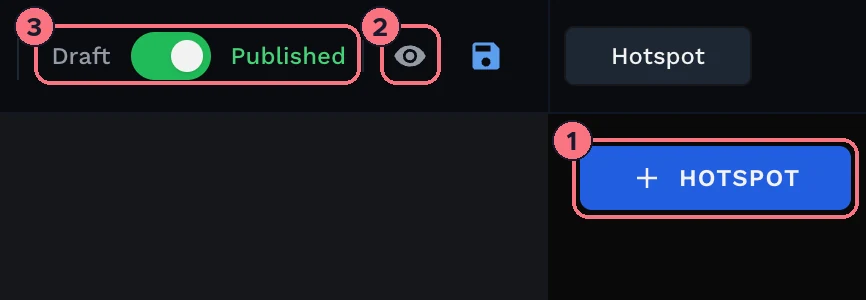
- On the Hotspot tab, choose + HOTSPOT (1). A hotspot appears in the middle of the view and its settings open on the right, with the type already set to Panorama.
- Choose Link to Panorama and pick the room that doorway leads to.
- Open that room and add a hotspot back the other way, then repeat for each doorway. Reverse hotspots can add the return link for you.
Hotspots can do more than move between rooms: show a photo, a video or a web page, or open a form. See What are hotspots?
4. Preview and publish
- Choose the eye icon (2) at the top to open the tour in a new tab, the way visitors will see it. Walk through it and check every hotspot goes where it should.
- Switch Draft to Published (3). Published makes the tour Public; switching back to Draft makes it Private again.
- Open the Share tab to copy the tour’s link or embed code (see Share a tour).
On a trial, the switch asks you to upgrade: trial tours stay private. If you’d rather share by link only, without the tour being listed publicly, set its privacy to Unlisted instead of using the switch.
Next steps
- Set the view each panorama opens on, so visitors start facing the best angle.
- Add a floorplan so visitors can jump straight to a room.
- Add a welcome screen with your logo and a short introduction.
- Hide the tripod with a nadir patch.
Common questions
Can I create a virtual tour for free?
Yes. The TeliportMe free trial lets you build one tour with every feature, free forever, with no credit card. The tour stays private until you subscribe; then you can publish it. See Subscriptions.
Do I need a 360 camera to create a virtual tour?
You need 360° panoramas: equirectangular JPG or PNG files, which can come from a 360° camera, a phone app, stitching software or 3D software. See Best 360 camera and Image specifications.
Why can’t I publish my tour?
On the free trial, the Draft / Published switch asks you to upgrade, because trial tours stay private. Subscribe to make the tour Public or Unlisted.